 I love blueberry jam. Homemade, nothing store-bought. My great-aunt, Marguerite, who is 89, still makes what seems like tons of jam every year. Her jam is always one of my favorite things about visiting her in North Carolina. So when I saw  North Carolina blueberries on sale at Aldi for 99 cents a pint I decided to buy a bunch and make some jam.
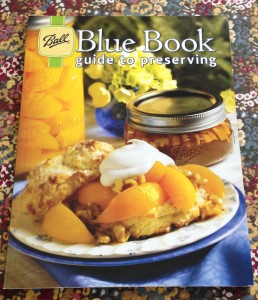
Two years ago I was picked to host a House Party for Ball products. They gave me this nice book and some other canning essentials to try out. I must say I found making jam and canning it easier than I thought it would be.
Although there are quite a few steps to take to produce the beautifully sticky and tasty blueberry jam it is definitely worth the time.
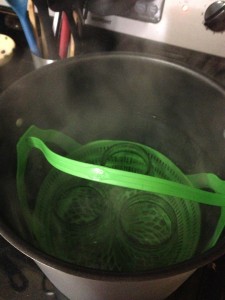 First things first. Clean and heat your jars. The jars obviously need to be clean but they also must be heated in simmering water for 10 minutes. This prepares the jars for the canning process and prevents cracking. Also you must heat the lids in simmering water but don’t boil them. Keep the jars and lids warm until they are needed. When I am making more than a couple of jars, I keep the jars warm in the dishwasher by using the heated dry setting.
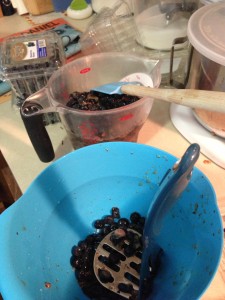 While the jars and lids are heating start preparing your fruit. I visually inspected my blueberries, washed them and put them in a bowl to start crushing them with my potato masher. After I crushed all my berries I combined them with the required amount of sugar in my sauce pot. The recipe I used calls for 9 cups of berries and 6 cups of sugar.
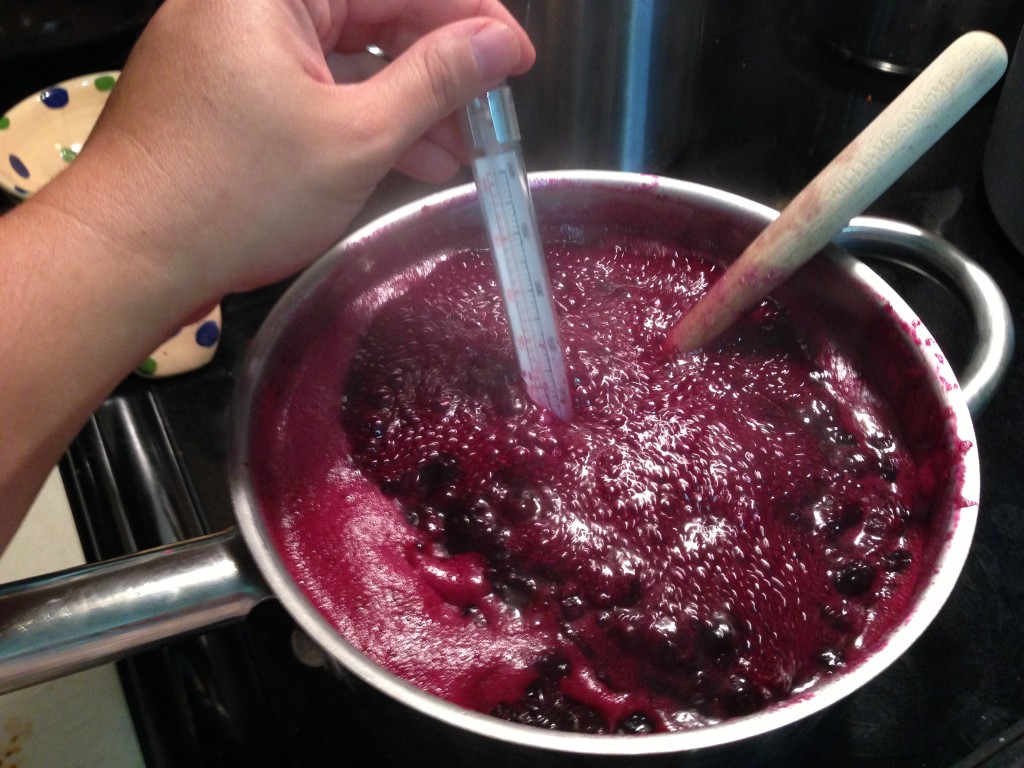
Since I was not using a recipe that called for pectin I needed to heat my jam to the gelling point. I used a candy thermometer and slowly brought it to a boil (while constantly stirring). The jam had to be heated to 220 degrees Fahrenheit. This process takes a while if you don’t want to use a candy thermometer then I suggest choosing a recipe that calls for pectin. You can find lots of great recipes on the Ball website.
The only thing I would change about this process was that I should have made the jam in my stock pot instead of my biggest sauce pot. It took me longer to get the jam to the gelling point because I had to keep removing it from the heat to keep it from boiling over. It was touch and go but I managed to keep from making a giant mess. Also note that it is very bad to have hot sugar come into contact with your glass top stove. So better be safe than sorry and use a stock pot.
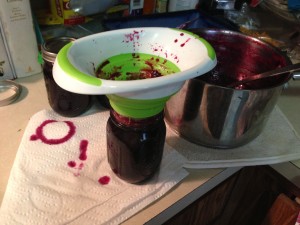 After I got the jam to the gelling point I removed it from the heat and skimmed off any foam that accumulated on the top. Then I started to fill the  jars. Jam requires that you leave only 1/4 inch headspace (the space between the lid and the jam). I used a ladle and a collapsible canning funnel, which made it very easy to fill my hot jars. If you get any jam on the outside lip of the jar make sure you clean it before placing the lid and adding the band to the jar.
I was able to fill 5 pint-sized jars with this delicious blueberry jam. Once they were filled I used a jar lifter to lower my jars into the simmering water of my stock pot. As a part of the House Party I did 2 years ago I received a Home Canning Discovery Kit. It came with a polypropylene rack that has a handle so you can use in a standard stock pot. You just need to make sure that the stock pot is big enough to hold the jars plus the water that is required to cover them when canning (about 2 inches above the top of the jars). Using this kind of rack was definitely easy and it is much less expensive.
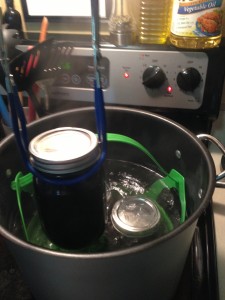 After loading my jars in the pot, I put the lid on and once the water is at a rolling boil I set the timer for 10 minutes. This processing time helps minimize food spoilage. Once my timer went off, I removed the pot from the heat and let it cool for 5 minutes before removing the jars. I used the jar lifter again to remove the jars and set them a couple of inches apart on a towel to cool. Make sure you do put the jars somewhere they can sit for 12-24 hours as they must cool completely before being moved. If you move them around too much you will interfere with the sealing process.
Once the jars are cool you will need to check the seal. You can do this by pressing on the center of the lid. If the lid doesn’t flex at all then take the band off and try to gently lift the lid off with your fingertips. If it doesn’t move at all then you have a good seal. You can now store your jam for up to one year. Not that any of this jam will last that long in my house.
 I hope you enjoyed this post about my jam making. My nephew Daniel had some on his sandwich today and declared it yummy. Also, some friends of mine heard I was making jam they asked if I would sell it to them. So today I will be making quite a lot more blueberry jam as well as some strawberry for friends who want to make a donation of $8 per pint to our adoption fund. I love when I can combine the things that I enjoy doing with saving more money for our Little One’s adoption.
Disclaimer : Although I received some items from Ball two years ago for the House Party this post is in no way sponsored by them and the opinions are all my own. I just enjoy using their products and find their website full of great information.


